

How to Build an Underground Bunker Using Shipping Containers: The Ultimate Guide
How to Build an Underground Bunker Using Shipping Containers: The Ultimate Guide
Building an underground bunker using shipping containers offers a durable, cost-effective, and customizable solution for emergency preparedness. Whether you need a storm shelter, a survival retreat, or a luxury hideaway, Conexwest provides high-quality shipping containers designed to meet the demands of underground living. This guide covers every aspect of the process, from planning and permits to installation, customization, and long-term maintenance. With Conexwest’s expertise, you can create a bunker that is safe, functional, and built to last.
This ultimate resource equips you with the knowledge and tools to start your project. Conexwest is here to support you every step of the way, ensuring your bunker meets your unique needs.
Why Choose Conexwest for Your Underground Bunker?
Conexwest stands out as the premier choice for underground bunker projects. Here’s why our shipping containers and services make all the difference.
Unmatched Durability and Structural Integrity
Conexwest shipping containers are constructed from high-grade corten steel, offering exceptional durability and resistance to weather and corrosion. These qualities make them ideal for underground environments, where they must withstand soil pressure and moisture. Our containers can be upgraded to handle heavy loads, ensuring they remain structurally sound when buried.
Customization Options Tailored for Bunkers
We offer a wide range of customization options to suit your bunker’s specific requirements. Conexwest can reinforce walls for added strength, install pre-designed ventilation systems for airflow, and fit watertight doors to keep moisture out. Whether you’re building a basic shelter or a fully equipped survival space, our containers can be tailored to your vision.
Reliable Delivery and Expert Support
Conexwest provides seamless delivery services, bringing your container directly to your site. Our team offers expert support throughout the process, from selecting the right container to advising on installation. With Conexwest, you gain a partner committed to making your bunker project a success.
Ready to start? Contact Conexwest for a quote and see how we can bring your bunker to life.
Planning and Permits for Your Underground Container Bunker: Laying the Groundwork
A successful bunker project hinges on meticulous planning and strict adherence to local regulations. This foundational stage ensures your bunker is not only structurally sound and functional but also legally compliant, avoiding potential delays, fines, or structural issues down the line. Below, we’ll explore the critical steps of researching local regulations and selecting the ideal site, with detailed insights and practical advice to guide you through the process.
Research Local Regulations: Navigating Permits and Codes
Building codes, zoning laws, and permit requirements for underground structures can vary significantly depending on your location. Some regions impose stringent rules on excavation depth, environmental impact, or utility installations, while others may have more relaxed standards. Failing to comply with these regulations could result in costly penalties, project delays, or even the forced dismantling of your bunker. To get this right, thorough research and proactive engagement with local authorities are essential. Here’s how to approach it:
Understand Permit Types
Depending on your project and location, you may need several types of permits:
- Zoning Permits: Confirm that your property is zoned for underground construction. Some residential areas may prohibit such structures, while rural zones might offer more flexibility.
- Excavation Permits: Required for digging, especially in areas with underground utility lines, protected land, or seismic considerations.
- Building Permits: Cover structural elements like the container itself, as well as any electrical, plumbing, or safety features (e.g., ventilation systems or emergency exits).
- Environmental Permits: In ecologically sensitive areas, near wetlands, forests, or water sources, you may need an environmental impact assessment to evaluate your project’s effect on the surroundings.
Consult Local Authorities Early
Start by contacting your local building department or planning office as soon as you have a basic concept for your bunker. Bring a detailed blueprint that outlines your project’s scope, including:
- Dimensions of the container
- Materials to be used
- Utility layouts (e.g., electrical wiring, plumbing, ventilation)
- Proposed burial depth
This blueprint serves dual purposes: it helps officials assess your compliance with local codes, and it acts as a roadmap for your construction process.
Burial Depth Regulations
The depth at which you bury your container affects its visibility, security, and structural integrity. While regulations vary, here are some common benchmarks:
- 4 Feet: Often the minimum allowed depth in many areas. It provides basic coverage but may leave the bunker partially exposed and vulnerable.
- 7 Feet: A popular choice for balancing concealment and structural stability. It offers better protection from surface threats while remaining manageable for most soil types.
- 10 Feet: Ideal for full concealment and maximum security, often used for high-stakes bunkers. However, deeper burials increase soil pressure, requiring additional reinforcement like steel bracing or concrete encasement.
Pro Tip: Check with local authorities and utility companies for restrictions on burial depth. Underground pipelines, cables, or soil conditions may limit how deep you can go. Conexwest offers reinforcement options tailored to your chosen depth, ensuring your bunker withstands the pressure of surrounding earth.
Choose the Right Location: Factors for Stability and Accessibility
The site you select for your bunker is just as important as the container itself. A poorly chosen location can compromise stability, complicate construction, or create long-term maintenance challenges. To make an informed decision, evaluate these key factors:
Soil Type
Soil composition directly impacts your bunker’s foundation and longevity. Different types present unique challenges:
- Sandy or Loose Soil: Prone to shifting over time, which can destabilize your bunker. Extra reinforcement, such as gabion cages, deeper footings, or retaining walls, may be necessary to prevent collapse or settling.
- Clay-Heavy Soil: Tends to retain water, increasing the risk of moisture infiltration and corrosion. Waterproofing measures, like exterior sealants or drainage systems, become critical in these conditions.
- Rocky Soil: Provides excellent stability and load-bearing capacity but may require heavy-duty excavation equipment, driving up costs and timelines.
A geotechnical survey is highly recommended to assess your soil’s load-bearing capacity and behavior under pressure.
Water Table
The water table, the level below which the ground is saturated with water, plays a major role in bunker design. Building below this level risks flooding or chronic moisture problems, which can damage the container and degrade air quality inside.
- Check local water table levels through municipal records or a site survey.
- If your site has a high water table, consider elevating the bunker slightly above ground with earthen berms for camouflage, or install advanced drainage systems like French drains or sump pumps.
Accessibility
Your site must accommodate the heavy machinery needed for construction, excavators, cranes, and delivery trucks hauling the container.
- Ensure there’s a clear, stable path to the site, free of steep inclines, tight corners, or fragile terrain (e.g., marshy ground).
- Account for weather impacts: heavy rain can turn dirt paths into impassable mud, delaying your timeline.
- Consider proximity to existing roads and any obstacles like trees, boulders, or neighboring structures.
Environmental Considerations
In some regions, environmental regulations add another layer of complexity. If your site is near protected habitats, wetlands, or water sources, you may need to:
- Conduct an ecological impact assessment to ensure your project doesn’t harm local wildlife or ecosystems.
- Adhere to restrictions on excavation or material use.
Pro Tip: If your property offers multiple potential sites, prioritize one with stable soil, a low water table, and easy access. This combination reduces construction costs and enhances your bunker’s long-term durability.

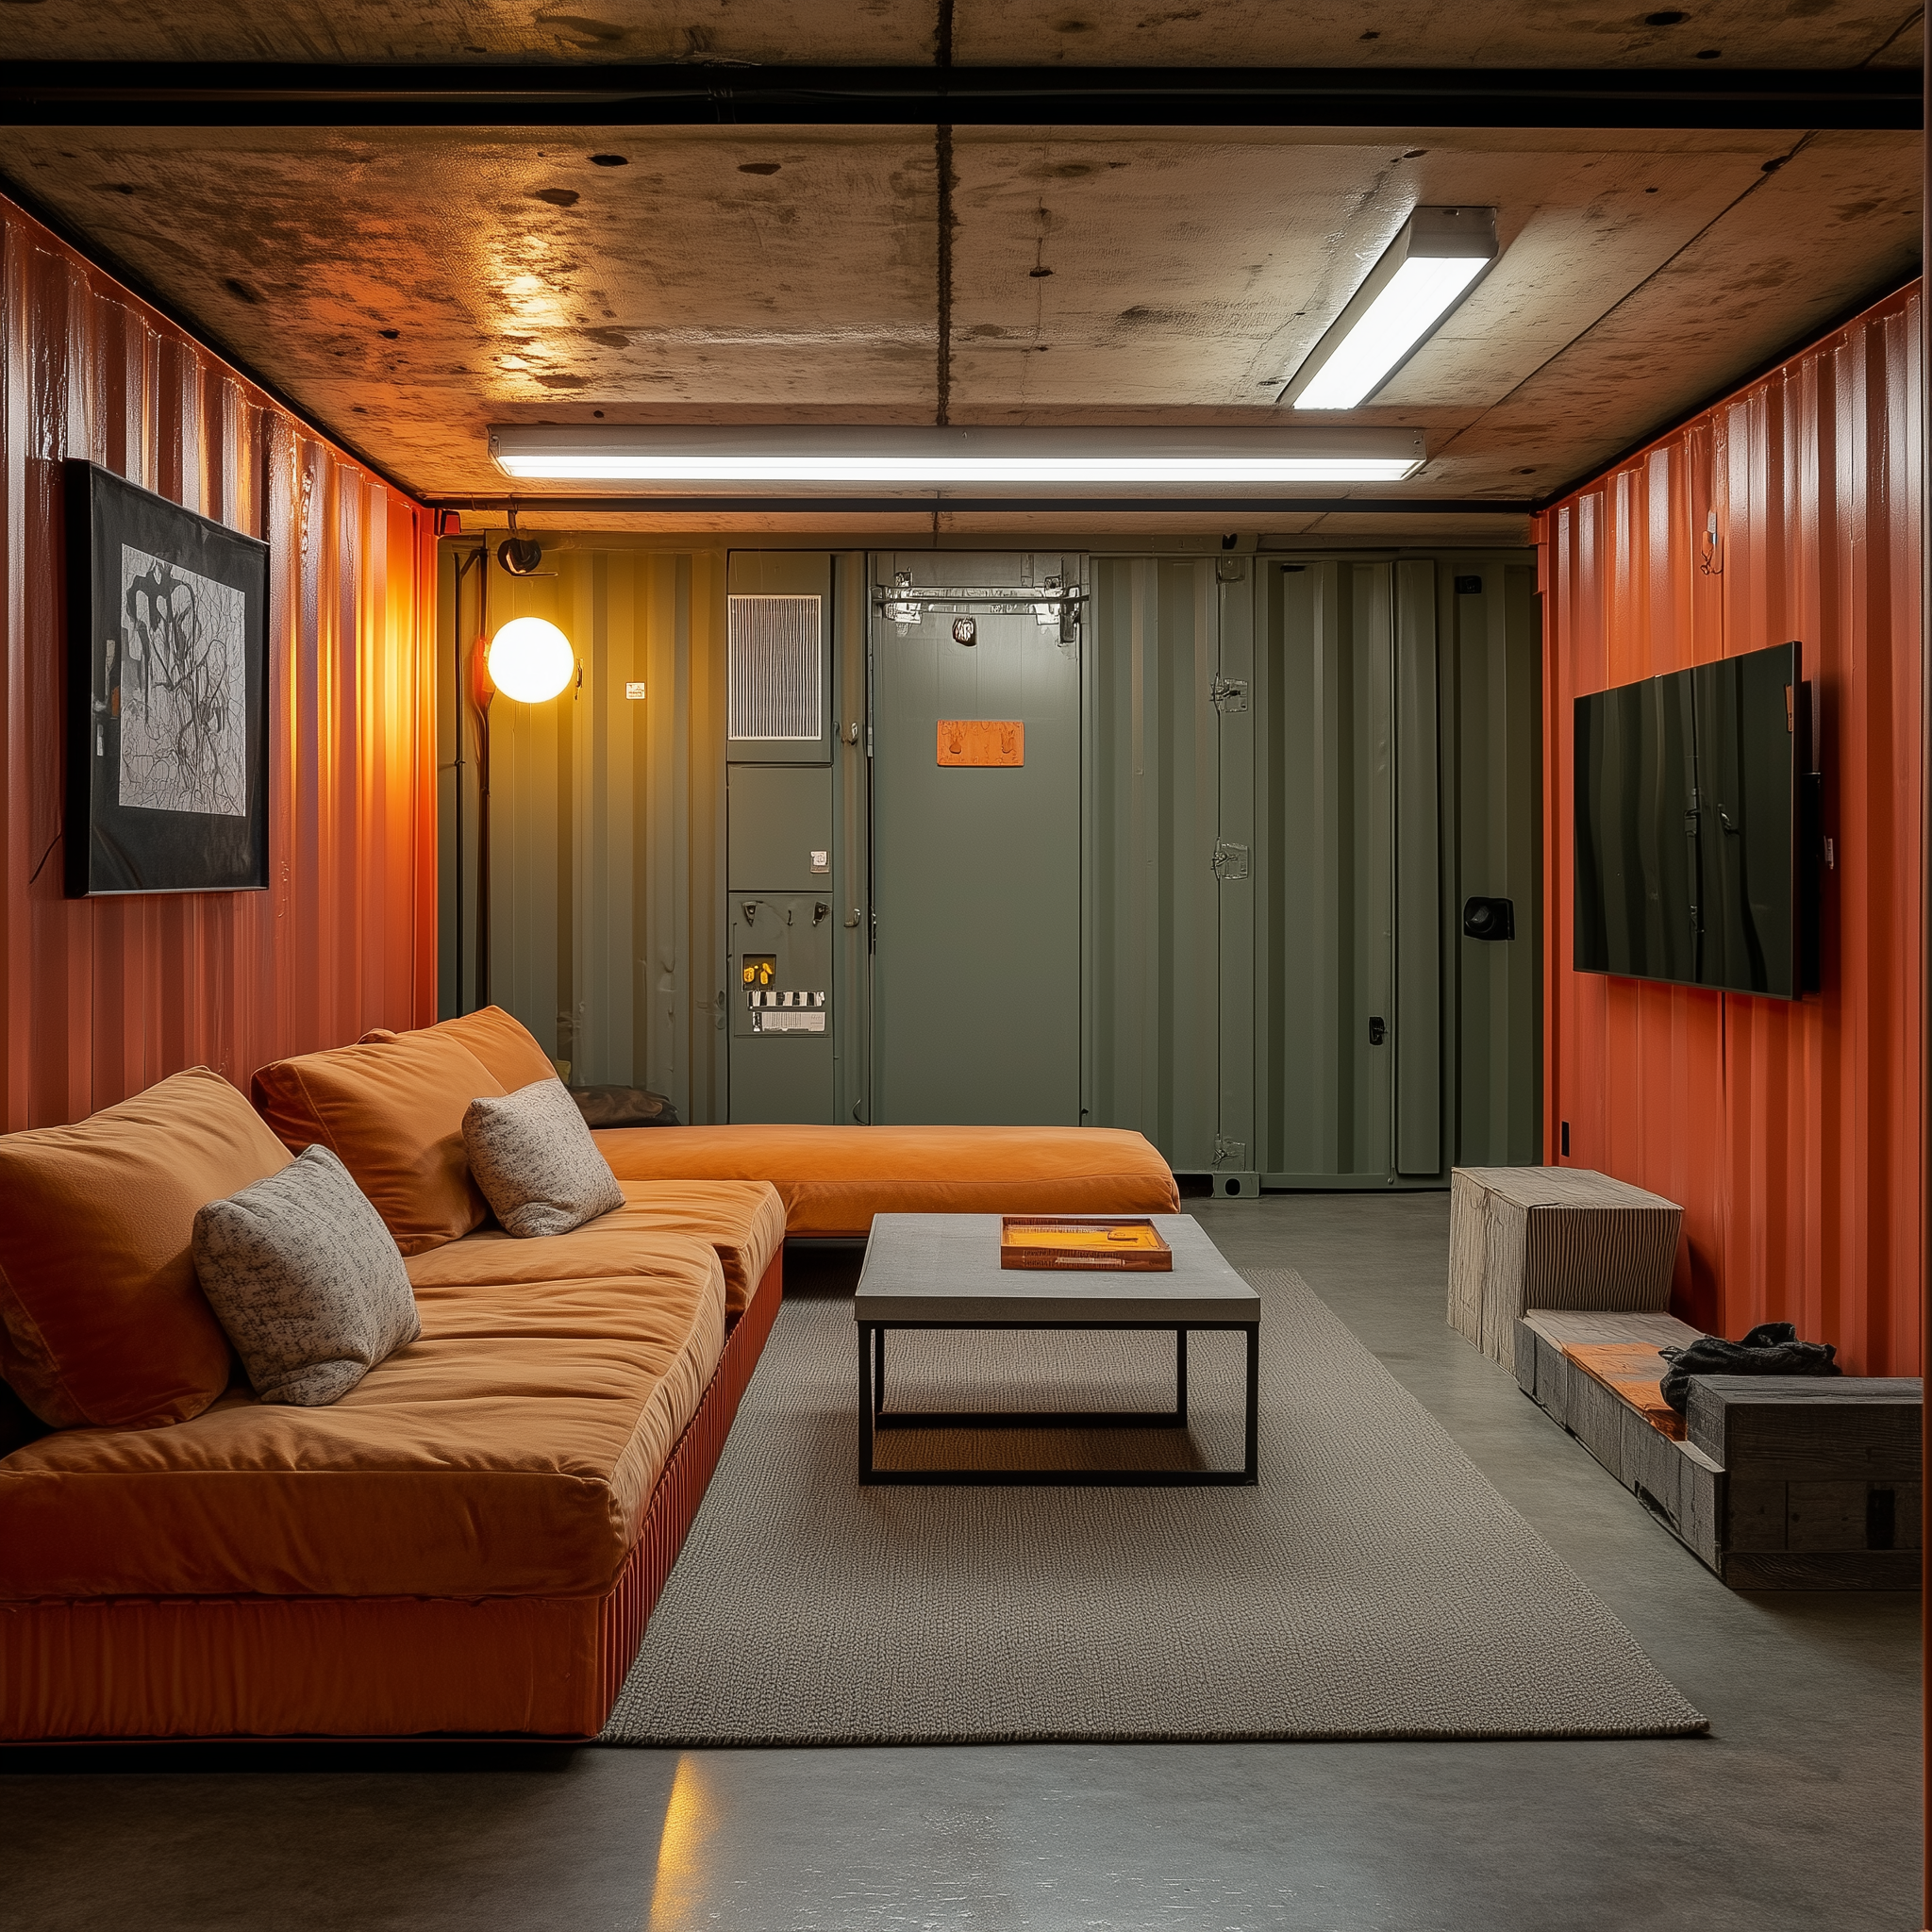
Selecting the Right Container Size: Tailoring Space to Purpose
The size of your container is a critical decision that affects the comfort, utility, and cost of your bunker. Conexwest offers containers ranging from 10 feet to 40 feet, each designed to suit different project scales and purposes. Selecting the right size means considering your intended use, the number of occupants, your budget, and your site’s limitations. Below, we’ll explore the options in detail and provide practical advice to help you choose wisely.
Container Size Options and Their Uses
10-Foot Containers: Measuring 10 feet long, 8 feet wide, and 8.5 feet high, these compact units are ideal for small, personal storm shelters or emergency hideaways. A 10-foot container offers enough space for:
- A single bunk bed or sleeping mat.
- Shelving for essential supplies like food, water, and first-aid kits.
- A portable toilet or basic sanitation setup.
Perfect for short-term use during tornadoes or hurricanes, this size is also easier and cheaper to bury, making it a great choice for small properties or limited budgets.
20-Foot Containers: With double the length (20’L x 8’W x 8.5’H), a 20-foot container provides more room for small to medium-sized bunkers. It can accommodate a family of four for brief stays, with space for:
- Multiple bunk beds or a larger sleeping area.
- A small kitchenette with a propane stove and countertop.
- Additional storage for supplies and equipment.
This size offers a practical middle ground, more space than a 10-foot unit without the higher costs of larger containers, making it popular for those needing a bit more flexibility.
40-Foot Containers: For ambitious projects like long-term survival bunkers or community shelters, a 40-foot container (40’L x 8’W x 8.5’H) delivers generous space. It can house:
- Separate sleeping quarters for multiple people or families.
- A full kitchen with dining or communal space.
- A bathroom with a composting toilet and sink.
- Ample storage for months’ worth of supplies.
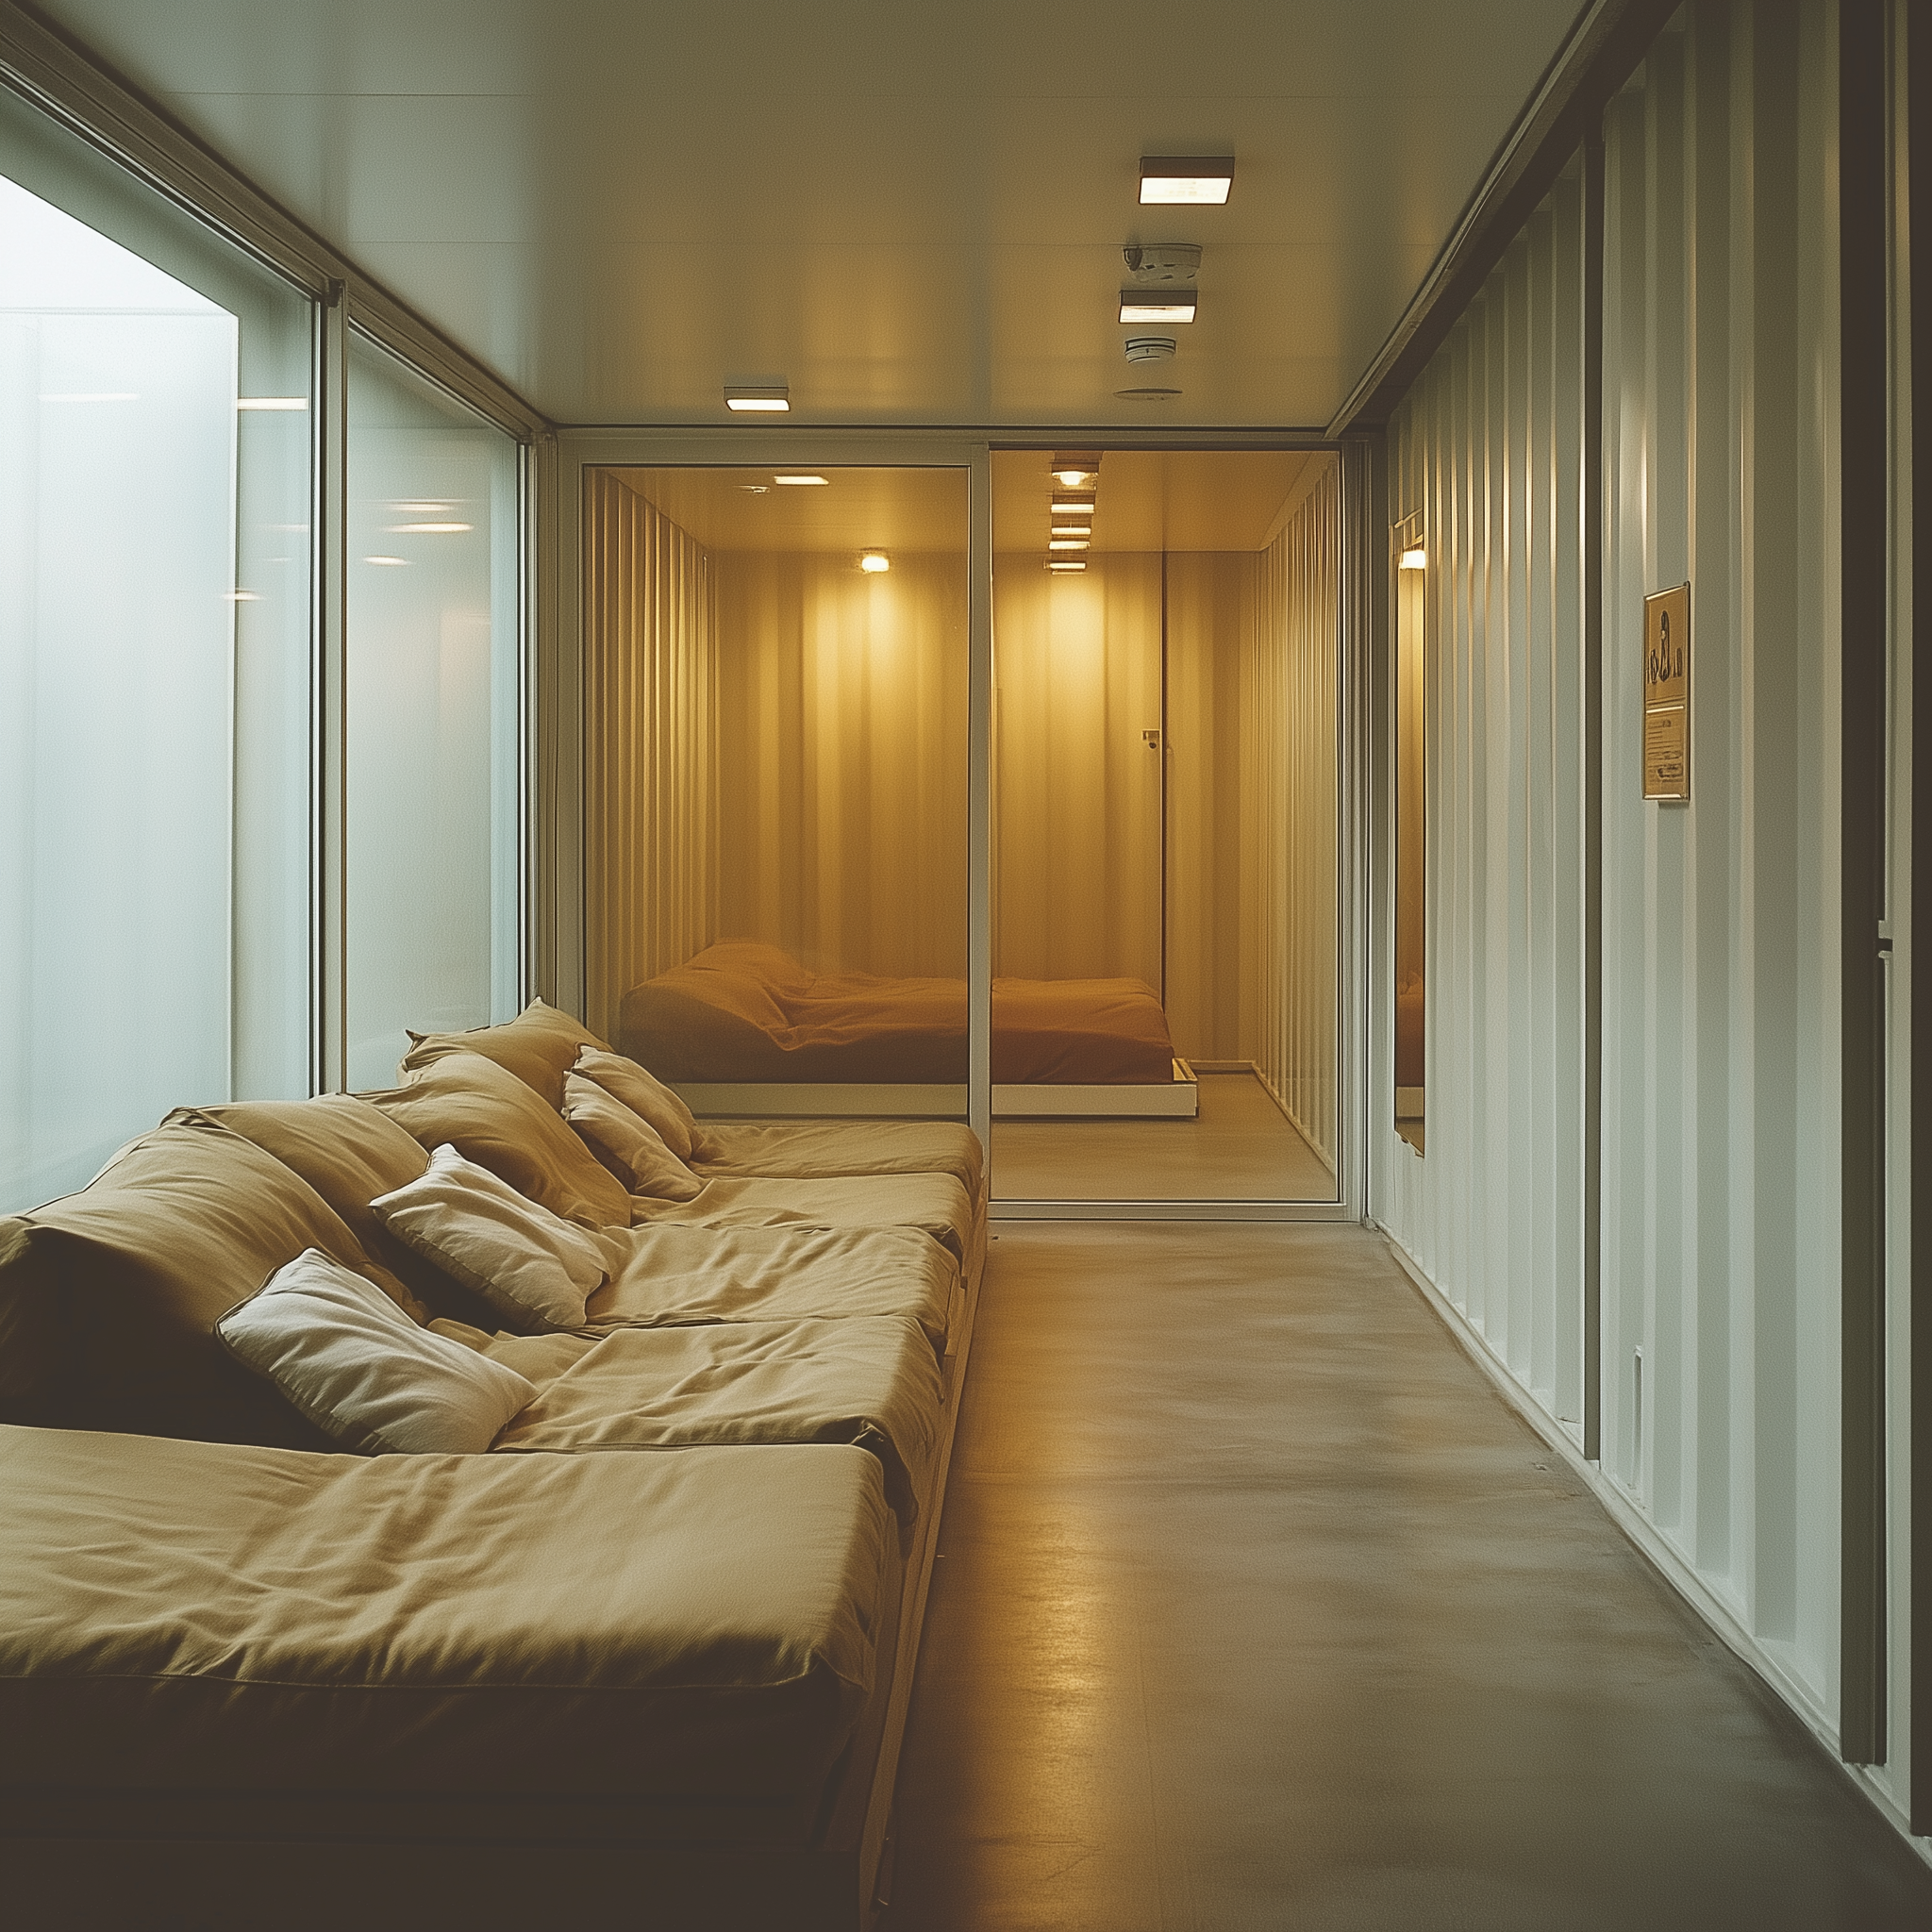
You can even add partitions to create distinct rooms, improving privacy and organization. Keep in mind that a 40-foot unit requires more extensive excavation and reinforcement, which increases both time and expense.
High Cube Containers: For those seeking additional headroom, high cube containers offer a practical upgrade, standing at 9.5 feet tall, compared to the standard 8.5 feet. Available in lengths like 20 feet and 40 feet, these containers provide an extra foot of vertical space, enhancing comfort and functionality.
Multiple Containers: If your vision exceeds the capacity of a single container, combining multiple units offers unlimited possibilities. This modular approach lets you:
- Assign specific roles to each container (e.g., one for sleeping, one for storage, one for utilities).
- Create a larger, interconnected space by welding containers together or linking them with tunnels.
While this option provides unmatched scalability, it also demands careful planning, a bigger budget, and a larger site. Conexwest can help design a multi-container layout that’s both functional and structurally sound.
Factors to Consider When Choosing a Size
Picking the right container size goes beyond just wanting more space, it’s about aligning your choice with your project’s realities. Here are the key factors to evaluate:
- Purpose: What’s the bunker for? A quick-refuge storm shelter can work with a 10-foot container, while a long-term survival space might need a 40-foot unit or multiple containers.
- Occupancy: How many people will use it? Allow 10-15 square feet per person for short stays (e.g., a 20-foot container’s 160 square feet suits four people temporarily) and 50-100 square feet per person for extended use (e.g., a 40-foot unit’s 320 square feet).
- Budget: Costs rise with size. A 10-foot container might be $2,000, a 40-foot unit $5,000+, plus excavation fees of $5,000-$15,000 depending on depth and soil type.
- Site Constraints: Check your property. A 40-foot container needs a long, flat area for delivery and burial, while a 10-foot unit fits tighter spaces. Deeper burials also require wider excavation slopes.
- Future Needs: Planning to expand later? Starting with a larger container or a multi-unit setup can simplify future additions.
Pro Tip: Not sure where to start? Conexwest’s team can assess your goals, budget, and site to recommend the best size. They’ll also suggest customizations, like extra doors or vents, to maximize your container’s potential.
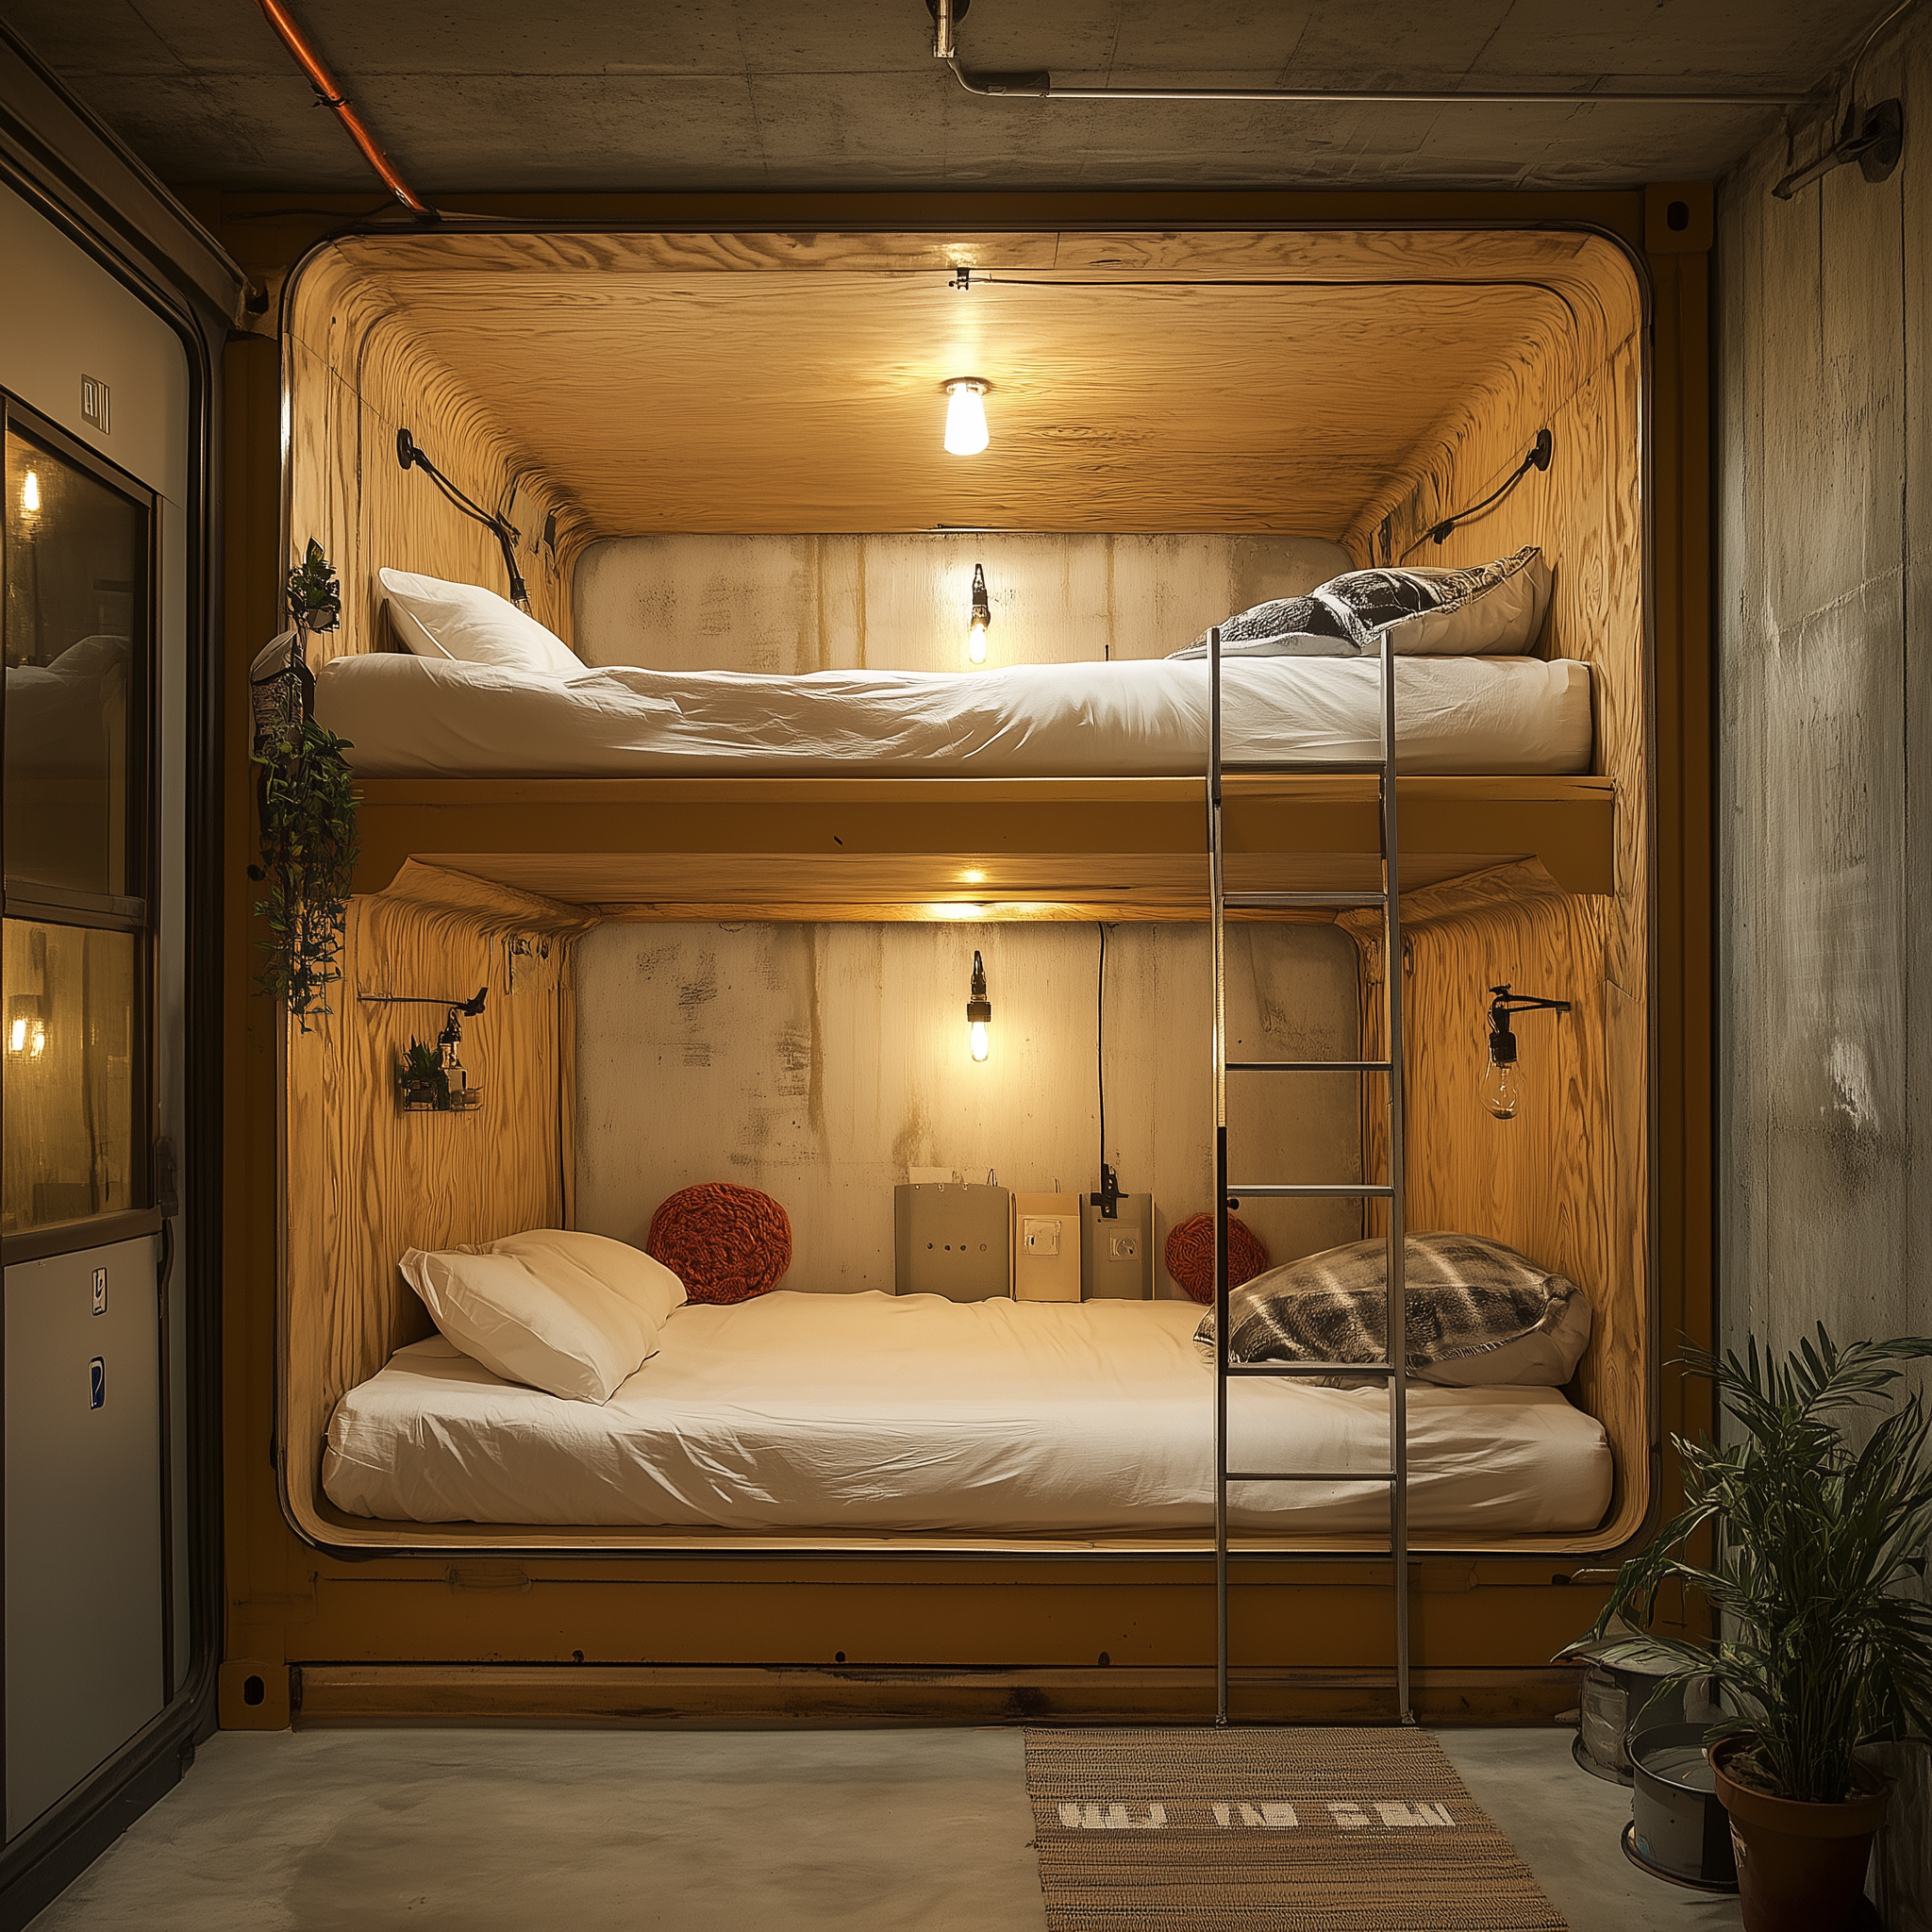
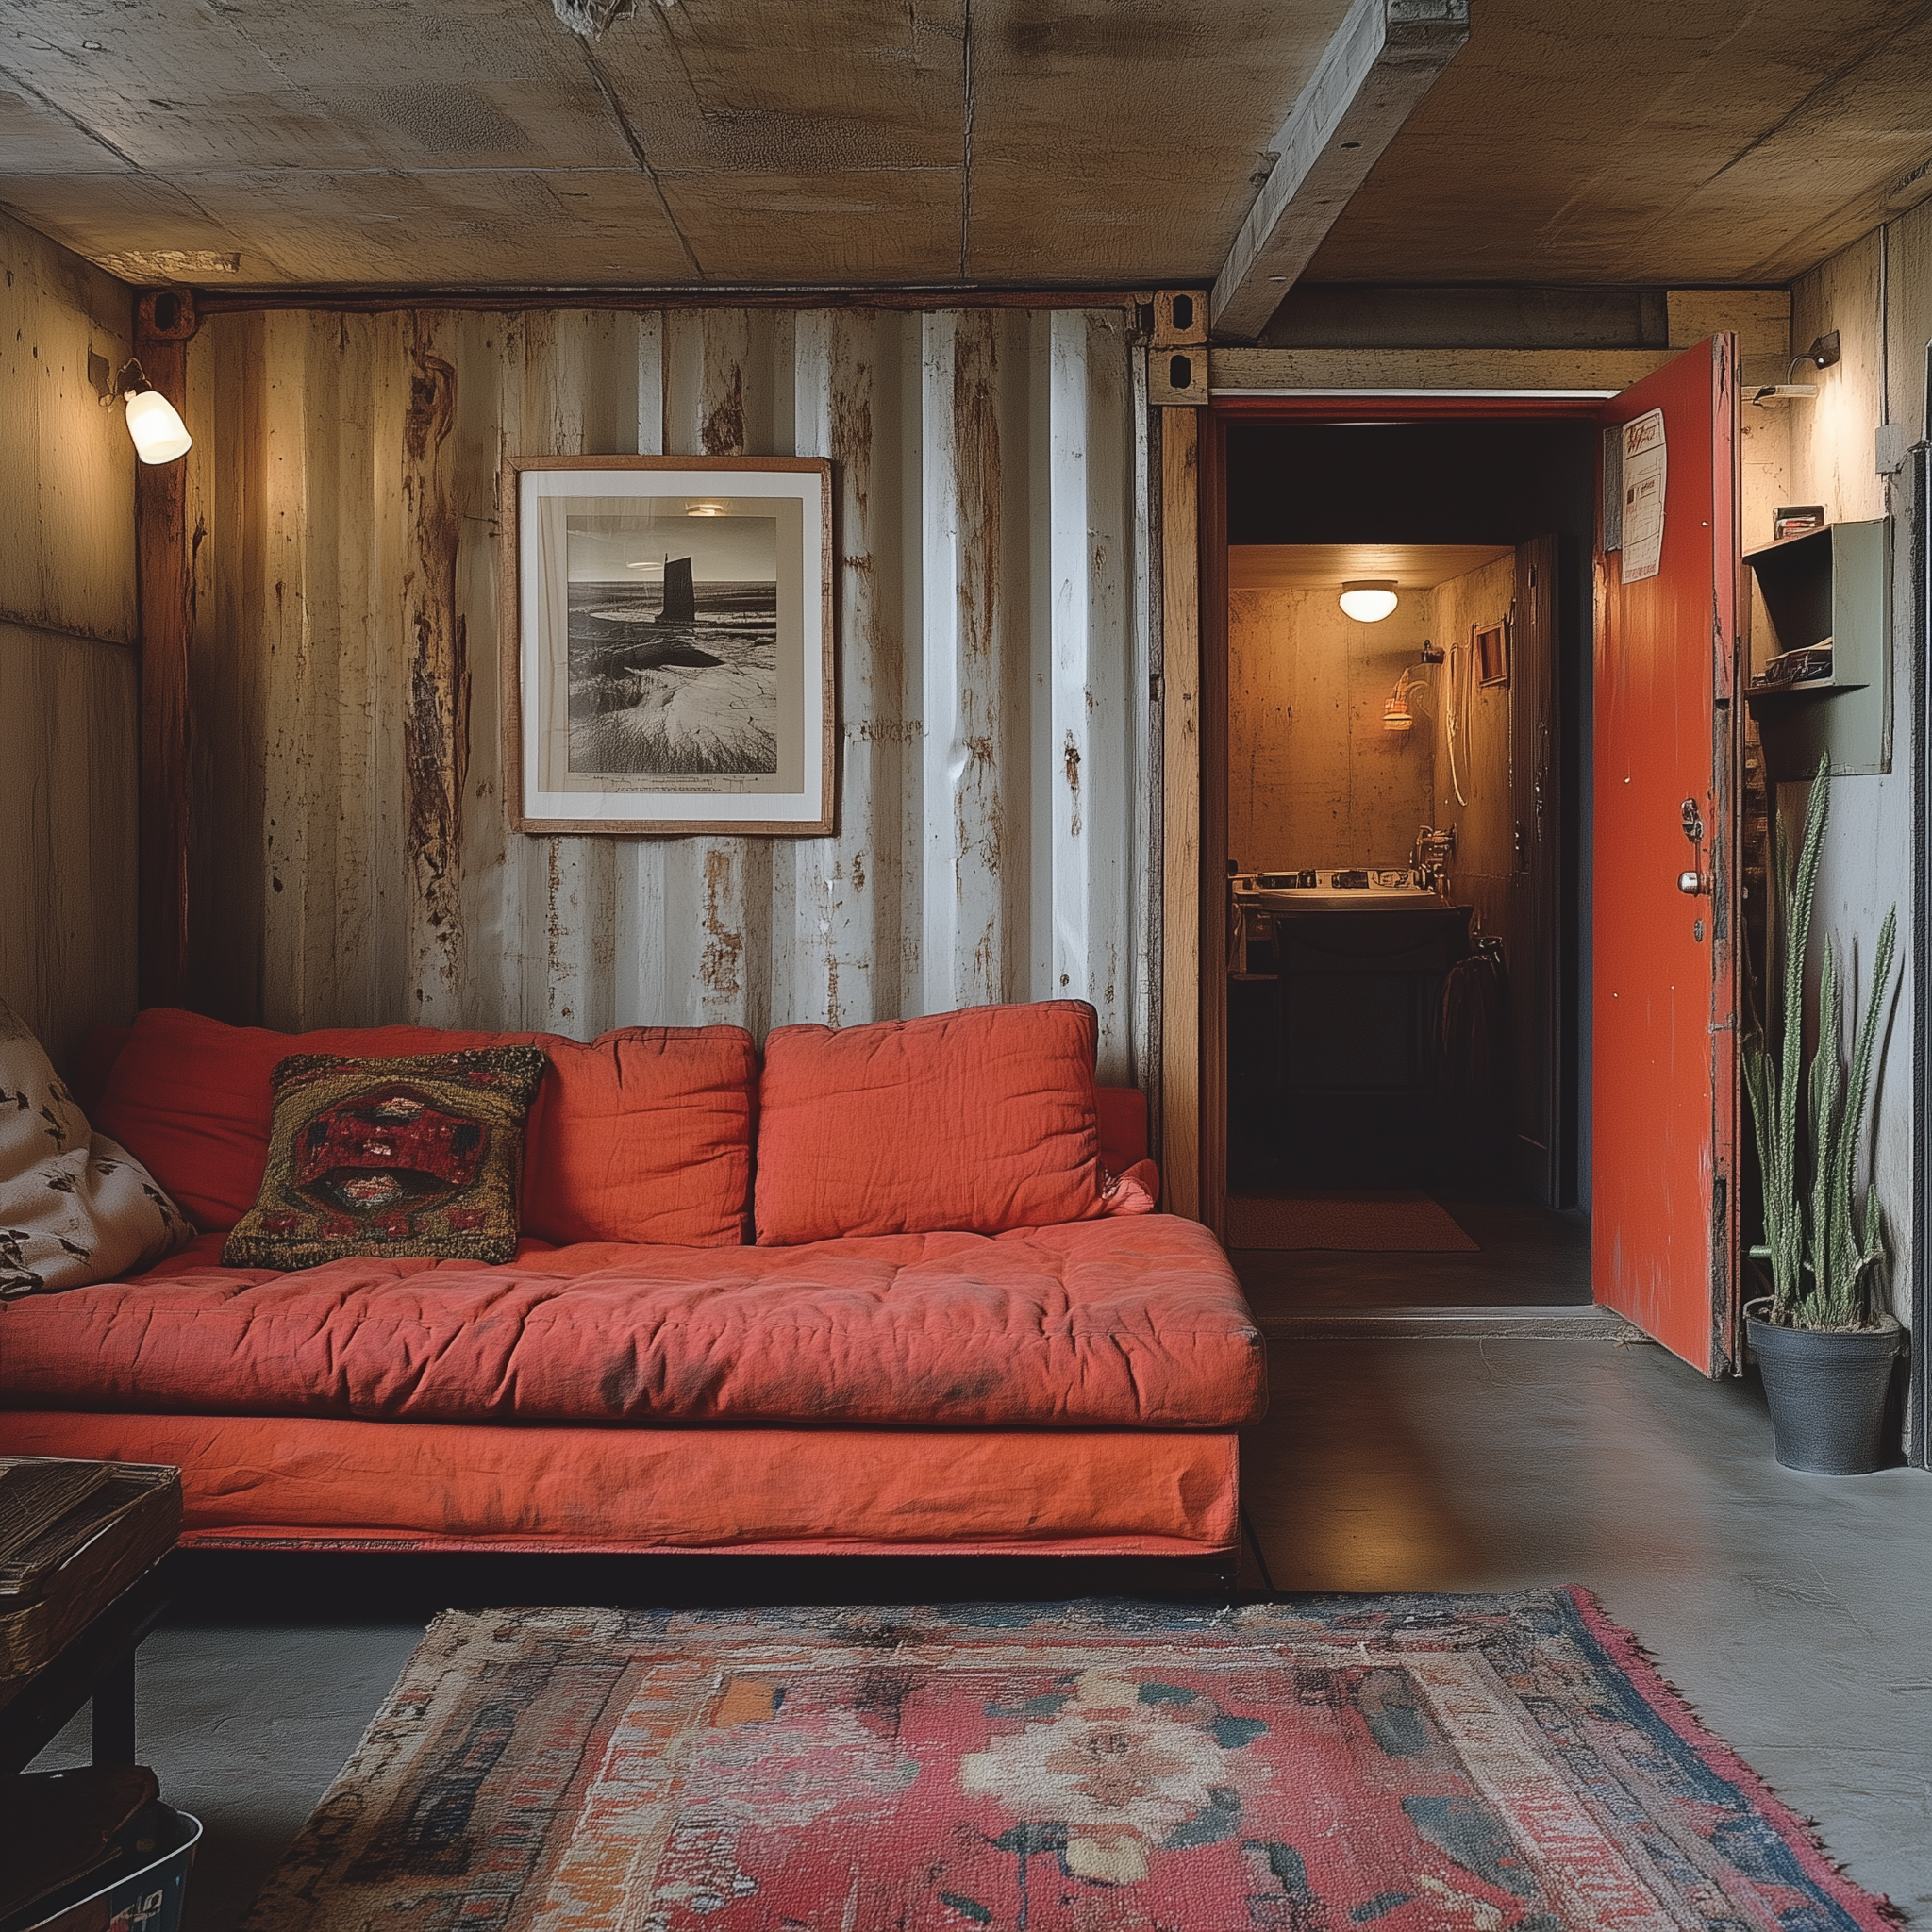
Preparing Your Container for Underground Use: Essential Steps for Durability
Choosing your container is just the first step, preparing it for underground conditions is what ensures it thrives beneath the surface. Soil pressure, moisture, and temperature shifts can damage an unprepared container, so Conexwest offers specialized services to make your bunker resilient. Below, we’ll dive into each preparation step, explaining its importance and offering tips to enhance your setup.
Preparation Tips for Success
Beyond Conexwest’s services, these extras can make your bunker even better:
Insulation: Underground spaces stay cool but can get damp. Adding spray foam or rigid panels:
- Keeps temperatures comfortable.
- Cuts condensation to prevent mold and rust.
- Saves energy if you’re heating or cooling.
Ventilation: Fresh air is a must. Conexwest can install:
- Intake and exhaust vents for circulation.
- Fans to move air actively.
- Filters to block dust or allergens.
Hide vents with surface covers (e.g., fake rocks) for discretion.
Access Points: Safe entry and exit are non-negotiable. Options include:
- Inward-opening doors to avoid debris blockages.
- Watertight hatches or stairwells for secure access.
- Reinforced frames to handle soil weight.
Pro Tip: Plan your interior before burial, add shelves, bunks, or wiring now to save hassle later. Conexwest can pre-install these features to streamline your build.
Excavation and Installation: Building the Foundation for a Secure Bunker
Turning a shipping container into an underground bunker starts with excavation and installation, two critical steps that demand precision, planning, and the right expertise. These phases create the groundwork for a bunker that’s stable, secure, and built to last. While Conexwest supplies durable, customizable containers, the actual digging and installation require professional hands. Below, we’ll break down each stage, digging the hole, laying a concrete foundation, lowering the container, modifying entry and exit points, and reinforcing the structure ,offering detailed, practical guidance to ensure your bunker stands strong.
Dig the Hole: Setting the Stage Underground
Excavation is the first step in transforming your site into a bunker-ready space. It’s more than just digging a pit; it’s about creating a hole that ensures stability, manages water, and fits your container perfectly.
Why Hire a Professional?
Digging an underground bunker isn’t a DIY job. Professional excavators bring the know-how and tools to get it right:
- Assess Soil Conditions: Sandy or loose soil requires wider excavation or shoring to prevent collapse, while clay might need less support but more drainage.
- Ensure Proper Drainage: They’ll slope the hole and add features like gravel beds or drainage pipes to keep water from pooling around your bunker.
- Maintain Safety: Experts avoid hazards like gas lines or electrical cables and comply with local regulations.
Pro Tip: Before any digging starts, call a free “dig safe” service to mark underground utilities. This simple step prevents accidents and costly damage.
How Deep Should You Dig?
The depth depends on your bunker’s purpose:
- Partial Burial (7 Feet): Ideal for storm shelters or budget-friendly builds, this depth conceals most of the container while keeping excavation manageable.
- Full Concealment (10 Feet or More): Best for survival bunkers or maximum discretion, deeper burials offer enhanced protection but require more reinforcement.
For a standard 8.5-foot-high container, dig at least 8-9 feet for partial burial (to include a foundation and drainage layer) or 10-11 feet for full burial. Conexwest recommends tailoring the depth to your container size and site conditions, with professional input.
Practical Excavation Tips
- Size It Up: Dig the hole 2-3 feet wider and longer than your container to allow space for reinforcement and backfilling.
- Slope for Safety: In unstable soil, angle the walls outward (e.g., 45 degrees) to reduce the risk of cave-ins.
- Plan for Water: In wet climates, install a French drain or sump pump during excavation to protect against flooding.
Lay a Concrete Foundation: The Bedrock of Stability
A solid concrete foundation is non-negotiable. It keeps your bunker level, prevents settling, and supports the container against soil pressure.
Why It Matters
- Prevents Shifting: Without a firm base, the container could tilt or sink as the soil moves over time.
- Distributes Weight: A foundation spreads the container’s load evenly, reducing strain on both the structure and the ground.
- Controls Moisture: Paired with a gravel layer, it directs water away, protecting the container from rust.
How to Build It
- Prepare the Base: Level the bottom of the hole and add 6 inches of compacted gravel for drainage.
- Pour the Concrete: Use reinforced concrete (with rebar or wire mesh) at least 6 inches thick for smaller containers (10-20 feet) or 8-12 inches for larger ones (40 feet).
- Cure Properly: Let the concrete set for 7 days to reach full strength before placing the container.
Pro Tip: For extra stability in soft soil, add concrete footings around the edges to anchor the foundation.
Lower the Container: Precision Placement
Placing the container into the hole is a pivotal step that requires heavy equipment and careful coordination.
Equipment Needed
- Crane or Excavator: A crane is ideal for larger containers (20-40 feet), while an excavator can handle smaller ones.
- Lifting Gear: Use heavy-duty straps or chains rated for the container’s weight (e.g., 5,000 pounds for a 20-foot container).
Step-by-Step Process
- Position the Equipment: Set up on stable ground near the hole to ensure safe operation.
- Attach Securely: Connect lifting gear to the container’s corner castings for a balanced lift.
- Lower Slowly: Guide the container down, keeping it level and centered on the foundation.
- Verify Placement: Check that it’s flat and aligned with planned entry points or utilities.
Safety Note: Keep the area clear during lowering and use spotters to assist the operator.
Modify Entry and Exit Points: Safe, Secure Access
Accessible and reliable entry and exit points are critical for a functional bunker. Here’s how to make them work underground.
Why Inward-Opening Doors?
- Prevent Blockages: Outward-opening doors can get jammed by soil or debris, while inward doors remain operable.
- Enhance Security: They’re harder to breach from the outside, adding a layer of protection.
Customization Steps
- Install Watertight Doors: Conexwest can equip your container with heavy-duty, sealed doors to keep out water and intruders.
- Add Access Features: For deeper burials, include a stairwell or ladder. Conexwest can cut and reinforce openings to suit.
- Plan a Backup Exit: Add a secondary exit, like a roof hatch, for emergency escapes.
Pro Tip: Consider a small airlock at the entrance to reduce dust and create a safety buffer.
Safety, Security, and Camouflage: Locking Down Your Fortress
A bunker’s job is to protect you, and Conexwest containers are built tough. Add these layers to keep it safe, secure, and hidden.
Multiple Emergency Exits
One exit isn’t enough, what if it’s blocked? Plan for at least two.
- Main Entrance: A sturdy, inward-opening door with heavy-duty locks.
- Backup Exit: A roof hatch or side tunnel. Conexwest can craft hidden exits that blend seamlessly.
Safety Note: Practice escaping through both exits so it’s second nature.
Fire Suppression
Fire’s a real threat in tight quarters.
- Smoke Detectors: Go for long-life, battery-powered models.
- Extinguishers: Keep two handy, one by the door, one near sleeping areas.
- Sprinklers: For bigger bunkers, tie a simple system to your water supply.
Conexwest suggests consulting fire safety pros for peace of mind.
Security Features
Keep threats out with robust defenses.
- Reinforced Doors: Conexwest offers steel-framed doors with multi-point locks or even biometric options.
- Alarms: Motion sensors or door alerts tied to your power system.
- Surveillance: Add battery-powered cameras or a peephole to watch the outside.
Pro Tip: Build a small safe room inside for an extra shield.